If you’re looking for a luxurious, soft, and warm material for your winter coat, chinchilla fur is an excellent option. With proper care, chinchilla fur can last for many years, and it’s a sustainable and eco-friendly material.
In this guide, we’ll take you through the process of making a coat from chinchilla fur step by step.
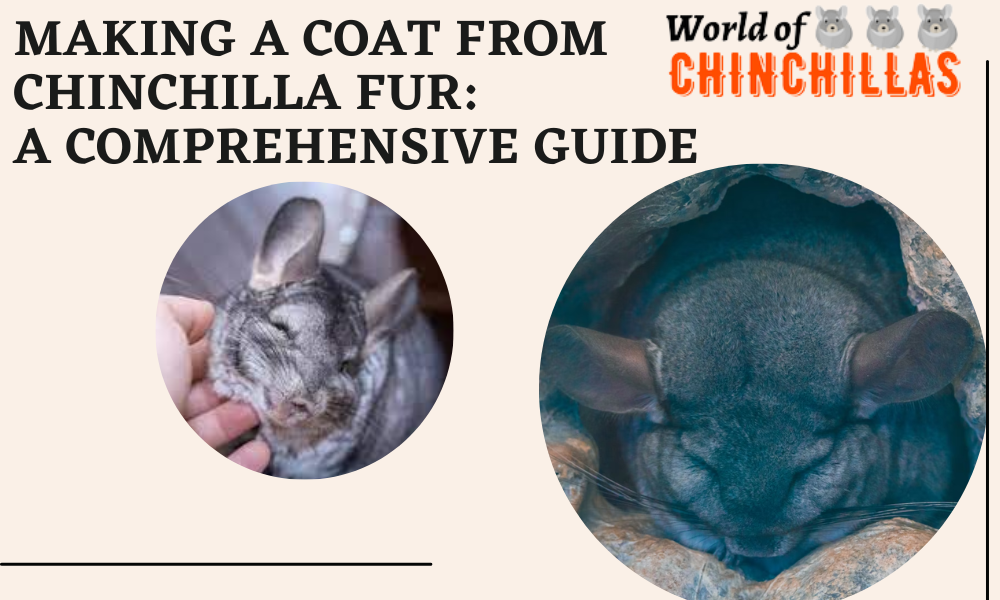
Types of Chinchilla Fur
There are two main types of chinchilla fur: standard and premium.
Standard chinchilla fur is gray with a white belly, while premium chinchilla fur is a lighter, bluish-gray color with a white belly. Premium chinchilla fur is more expensive and rarer than standard chinchilla fur.

Choosing the Right Fur for Your Coat
When choosing chinchilla fur for your coat, you’ll want to consider factors like color, quality, and cost. Premium chinchilla fur is the most desirable, but it’s also the most expensive. You may want to consider using a combination of standard and premium chinchilla fur to achieve the look you want while keeping costs down.
Designing Your Coat
Before you start working with the fur, you’ll need to design your coat. You can use a pattern or create your own design. Keep in mind that chinchilla fur is thick and bulky, so you’ll want to choose a design that allows for this. You may also want to consider adding a hood or collar for added warmth.
Preparing the Fur
Chinchilla fur can be fragile, so it’s important to handle it carefully. Before you start cutting or sewing, you’ll need to prepare the fur. Start by shaking out any debris or loose fur. Next, use a soft brush to gently remove any tangles or mats. If the fur is particularly dirty, you can use mild shampoo and water to clean it. Be sure to dry the fur thoroughly before you start working with it.
Cutting the Fur
Cutting chinchilla fur can be tricky, so it’s important to take your time and use sharp scissors. You’ll need to cut the fur in the direction of the nap to avoid damaging it. You may want to cut the fur in small sections to make it easier to work with.
Sewing the Coat
Sewing a coat from chinchilla fur requires some skill and patience. You’ll need to use a heavy-duty needle and thread and work slowly to avoid damaging the fur. You may also want to use a thimble to protect your fingers from the needle. When sewing the fur, be sure to stitch in the direction of the nap to avoid creating any visible seams.
Lining and Finishing
Once you’ve sewn the fur together, you’ll need to add a lining to the coat. This will help to protect the fur and make the coat more comfortable to wear. You can use a soft, lightweight fabric like silk or satin for the lining. Sew the lining into the coat, taking care to keep the seams hidden. Once the lining is in place, you can add any finishing touches, such as buttons or closures.
Conclusion
Making a coat from chinchilla fur is a time-consuming and challenging process, but the end result is a luxurious and unique garment that will keep you warm and stylish for years to come.
By following the steps outlined in this guide and taking proper care of your chinchilla fur coat, you can enjoy the beauty and warmth of this exquisite material for many winters to come.
FAQ
- Is it legal to make a coat from chinchilla fur?
The legality of making a coat from chinchilla fur depends on the laws and regulations of the country or state you reside in. In some areas, it is illegal to hunt or trap chinchillas for their fur, while in others, it may be legal but regulated. It is important to research and complies with any applicable laws and regulations before pursuing a chinchilla fur coat.
- Where can I obtain chinchilla fur for a coat?
Chinchilla fur can be obtained from licensed furriers and fur farms. It is important to ensure that the fur was obtained legally and ethically. Researching and selecting a reputable and certified furrier or fur farm is crucial in obtaining quality chinchilla fur.